Guides
How To Take Great Photos With Your Phone
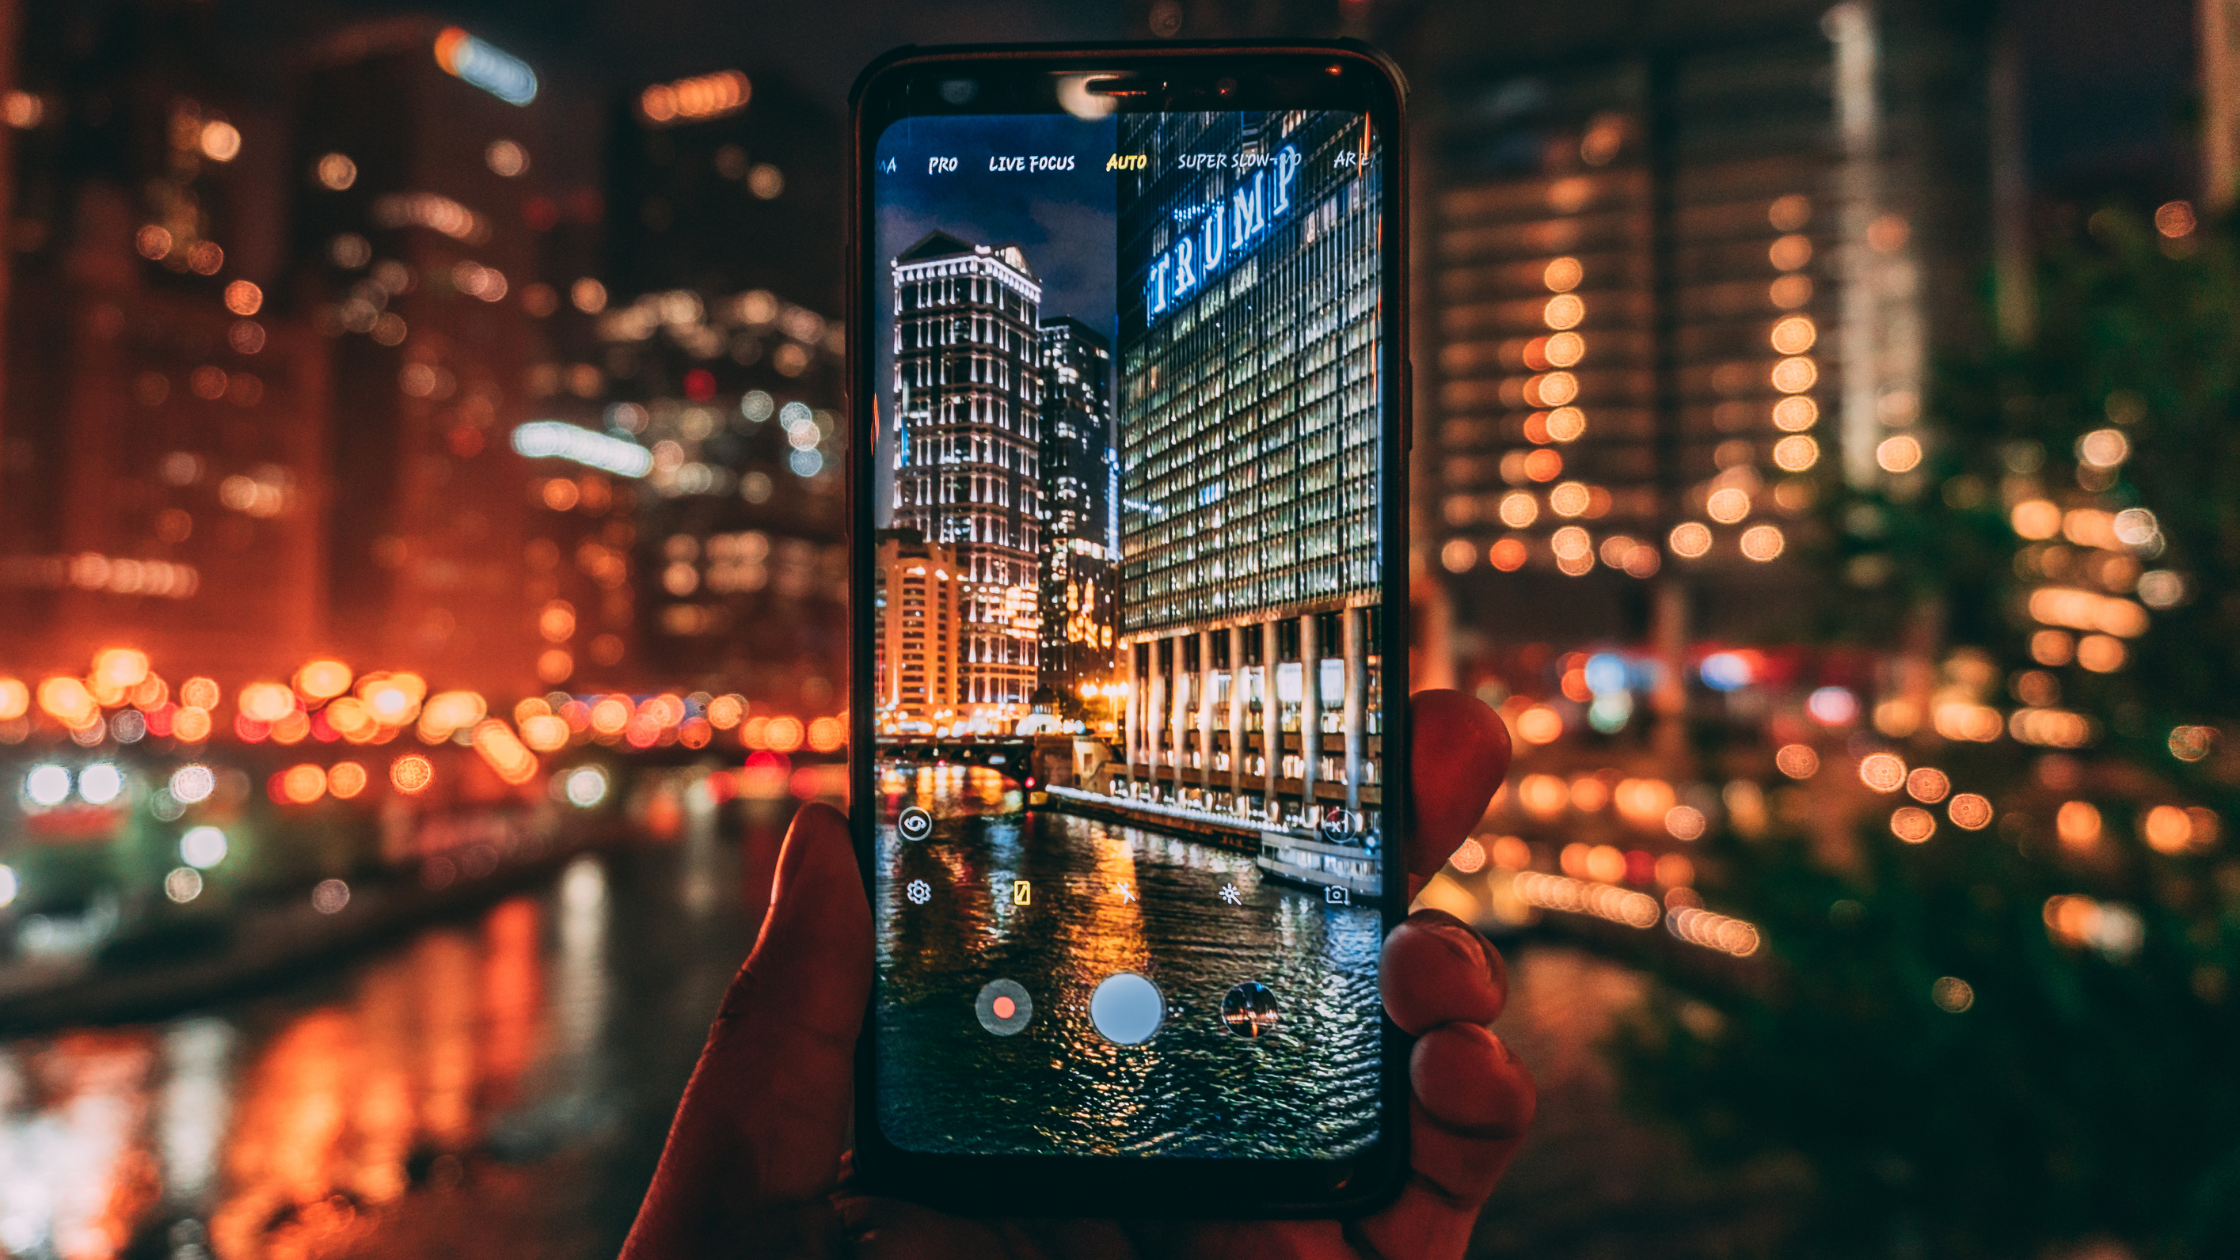
When it comes to capturing life’s precious moments, it’s hard to beat the convenience of a smartphone camera. However, taking great photos with a phone can be a bit tricky, especially if you’re not familiar with the basics of photography.
That’s why it’s important to know some simple smartphone photography tips and phone camera tricks that can help you elevate your mobile photography game. Whether you’re taking photos of your family, your pets, or your travels, these tips will help you take stunning photos that you’ll be proud to share. So, let’s dive in and explore how to take great photos with your phone!
Fundamentals of Taking Great Photos With a Phone Camera.
Here are the fundamentals of taking photos with your phone:
- Lighting
- Composition
- Focus
- Lighting: Lighting is one of the most important aspects of photography, and it can make or break your photos. To get the best results, avoid taking photos in direct sunlight or harsh artificial light. Instead, opt for soft, natural light or use an external light source like a lamp or ring light.
- Composition: Composition refers to the way you arrange the elements in your photo. A well-composed photo can be more visually appealing and interesting. Use the rule of thirds to place your subject off-center, and experiment with different angles and perspectives to add depth to your photos.
- Focus: Proper focus is essential for sharp, clear photos. Tap on the part of the image you want to be in focus, and use the focus lock feature to keep the focus on your subject.

How To Take Great Photos With Your Phone
Now that we’ve covered the basics, let’s dive into some specific tips and tricks for taking great photos with your phone camera:
- Adjusting Exposure
- Using the Grid Feature:
- Playing with Filters
- Using Portrait Mode:
- Using Manual Mode:
1. Adjusting Exposure
Adjusting exposure is a crucial step in taking great photos with your phone. It allows you to control the brightness of your photo, which can have a significant impact on the overall quality of the image. Here’s a step-by-step guide on how to adjust exposure on your phone camera to capture well-exposed photos:
- Open your phone’s camera app and point it at the subject you want to photograph.
- Tap on the part of the image you want to expose for. This will tell your phone’s camera where to focus and meter the exposure.
- Swipe up or down on the screen to adjust the brightness of the photo. Moving your finger up will make the image brighter, while moving it down will make it darker.
- Take the photo by tapping the shutter button or using the volume buttons on your phone.
Adjusting exposure can be especially useful in challenging lighting conditions, such as when the scene is too bright or too dark. For example, if you’re taking a photo of a sunset, you may need to adjust the exposure to capture the vivid colors of the sky without overexposing the image.

2. Using the Grid Feature:
The grid feature on your phone camera is a simple but effective tool that can help you create a well-composed photo. It divides the image into thirds both vertically and horizontally, creating a grid of nine equally sized rectangles. By placing the key elements of your photo along the grid lines or at their intersections, you can create a balanced and visually pleasing composition.
Here’s how to use the grid feature on your phone camera:
- Open your phone’s camera app and go to the settings menu.
- Look for an option called “Grid” or “Grid Lines” and turn it on.
- Once the grid lines are on, you’ll see them displayed on your phone’s screen as you take photos.
- Use the grid lines to help you position the key elements of your photo. For example, you might place your subject’s eyes at one of the intersections of the grid lines, or use the lines to keep the horizon level.
Using the grid feature can be especially helpful for beginners who are still learning about composition. It can also be a useful tool for more experienced photographers who want to experiment with different compositions or add more visual interest to their photos.
Remember, the grid feature is just a guide, and you don’t always have to follow it exactly. Feel free to experiment with different compositions and see what works best for your photo.
3. Playing with Filters
Using filters can be a fun and creative way to enhance the look of your photos and make them more visually appealing. Most phone cameras come with a range of built-in filters that you can apply to your photos in real-time, while others allow you to add filters after you’ve taken the photo. Here are some tips for playing with filters on your phone camera:
- Experiment with different filters: Most phone cameras offer a range of filters, from black and white to vintage to more modern looks. Try experimenting with different filters to see which ones work best for your photos. Remember, not every photo will look great with every filter, so it’s okay to experiment until you find the perfect one.
- Use filters sparingly: While filters can enhance your photos, they can also be overused and make your photos look unnatural or overly processed. When using filters, try to use them sparingly and only when they enhance the overall look of your photo.
- Adjust the intensity of the filter: Some filters can be adjusted in intensity, allowing you to fine-tune the look of your photo. When using a filter, look for an option to adjust its intensity and experiment with different levels until you find the right balance.
- Try third-party filter apps: In addition to built-in filters, there are also many third-party filter apps available for download. These apps can give you access to a wider range of filters and allow you to create unique and creative looks for your photos.
Using filters can be a great way to enhance your photos and give them a unique look. Just remember to use them sparingly and experiment until you find the perfect look for your photo.

How To Take Great Photos With Your Phone
4. Using Portrait Mode:
Portrait mode is a feature found on many modern phone cameras that creates a shallow depth of field effect, blurring the background and making the subject stand out. This can be especially useful when taking portrait photos, as it can create a more professional-looking image. Here’s how to use portrait mode on your phone camera:
- Open your phone’s camera app and look for the portrait mode option. On some cameras, this may be a separate mode you need to select, while on others it may be an option within the regular photo mode.
- Position your subject in the frame and make sure the camera has detected it. The camera will usually display a message or an icon to let you know when it’s ready to take the photo.
- Take the photo. The camera will use algorithms to analyze the scene and blur the background, creating a shallow depth of field effect.
Here are some tips for using portrait mode effectively:
- Use portrait mode for portraits: While portrait mode can be used for other types of photos, it’s best suited for portraits. It works by detecting the subject’s face and creating a depth map of the scene, so it’s not always effective in other types of photos.
- Position your subject carefully: To get the best results from portrait mode, make
5. Using Manual Mode:
Manual mode, also known as pro mode or manual focus, is a feature found on many phone cameras that allows you to manually adjust settings like ISO, shutter speed, and focus. This can give you more control over your photos and help you achieve more professional-looking results. Here’s how to use manual mode on your phone camera:
- Open your phone’s camera app and look for the manual mode option. This may be a separate mode you need to select, or it may be an option within the regular photo mode.
- Once in manual mode, you’ll see a range of settings you can adjust, such as ISO, shutter speed, focus, and white balance. Each of these settings can be adjusted manually, giving you more control over the look of your photos.
- Experiment with different settings to see how they affect your photos. For example, adjusting the ISO can help you take better photos in low light, while adjusting the shutter speed can create interesting motion blur effects.
Here are some tips for using manual mode effectively:
- Understand the basics of exposure: To use manual mode effectively, you’ll need to understand the basics of exposure. This includes understanding how ISO, shutter speed, and aperture work together to create a properly exposed photo.
- Use a tripod: When using manual mode, it’s important to keep your phone steady to avoid camera shake. Using a tripod can help keep your phone stable and reduce the risk of blurry photos.
- Practice, practice, practice: Manual mode can be tricky to use at first, but with practice, you’ll start to get the hang of it. Try experimenting with different settings and shooting in different lighting conditions to see how they affect your photos.
Using manual mode can be a great way to take more control over your photos and achieve more professional-looking results. Just remember to take your time and experiment with different settings to find what works best for you.
Editing Your Photo
Editing is an essential part of the photography process and can help take your phone photos to the next level. By making small adjustments to color, exposure, and composition, you can turn a good photo into a great one. Here are some tips for editing your phone photos:
- Color correction: Adjusting the color of your photos can make a big difference in the final result. Use your phone’s built-in editing tools or download a photo editing app to adjust brightness, contrast, saturation, and other color settings.
- Cropping: Cropping your photos can help you improve the composition and focus on the subject. Use the rule of thirds to guide your cropping and make sure the subject is positioned in the most visually appealing part of the frame.
- Photo editing apps: There are many photo editing apps available for both iOS and Android phones that can help you take your photos to the next level. Some popular apps include Adobe Lightroom, Snapseed, and VSCO. These apps offer a range of editing tools and filters to help you achieve the look you’re going for.
Here are some additional tips for editing your phone photos:
- Don’t over-edit: While editing can help improve your photos, it’s important not to overdo it. Over-editing can make your photos look unnatural and detract from their original beauty.
- Experiment with filters: Filters can be a fun way to add a unique look to your photos. Try experimenting with different filters to see how they affect the overall look of your photos.
- Save a copy of the original: When editing your photos, it’s always a good idea to save a copy of the original file. This way, if you make a mistake or decide you don’t like the edited version, you can always go back to the original.
Conclusion
In conclusion, taking great photos with your phone is all about understanding the basics of photography and using your phone’s features to their fullest potential. By mastering lighting, composition, focus, and editing, you can take photos that are just as good as those taken with a professional camera.
Remember to use the grid feature to help with composition, adjust exposure and focus manually, experiment with filters, and take advantage of portrait mode. And when it comes to editing, don’t be afraid to try different tools and techniques to see what works best for your photos.
With a little practice and patience, anyone can take amazing photos with their phone. So go out there, experiment, and have fun!
READ ALSO:
- How To Survive Traffic in Lagos (Best Tips)
- How To Sell Your Photography Online And Make Money (2023)
- Top 10 Scholarship Websites For Students In Nigeria (2023)
- How to Save Videos on Instagram, Twitter, and TikTok